Setting Up an Integration with JazzHR
How to set up an integration with JazzHr and Namely Onboarding.
OVERVIEW
Namely is the leading HR, payroll and benefits platform for midsize companies, and JazzHR helps make recruiting easy, effective and scalable. Our integration offers a seamless candidate to new hire experience, while not sacrificing on functionality.
Workflow
-
Leverage Jazz to efficiently manage the entire recruiting and candidate management process
-
Streamline and digitize the offer workflow when you find the best candidates
-
Initiate the Namely onboarding process from Jazz to automatically kick off the new hire experience
Key Benefits
-
Reduce duplicate tasks and manual data entry with a delivered integration that automatically syncs employee data from recruiting to onboarding
-
Provide a seamless new hire experience with intuitive user interfaces and less data entry
-
Easy configuration - connectNamely and Jazz in minutes with our pre-built integration
CREATING AN ACCESS TOKEN
The administrator who configures the access token must be an Administrator in Namely to successfully perform the setup.
First, create an access token in Namely, which you'll then enter into JazzHR. Here's how:
-
Log in to your Namely account.
-
Click the person icon in the top header, next to the bell icon.
-
Select API.
-
Click Personal Access Tokens.
-
Name your access token.
-
Copy the access token.

Note: Be sure to keep a copy of your token.
If the Super Administrator who initially created the access token is removed or deactivated from either the Namely or JazzHR account, a new access token will need to be created.
SETTING UP IN JAZZHR
Once you have your access token, go to JazzHR to connect the two accounts. Here's how:
-
Click Settings.
-
Click Integrations.
-
Scroll down to Namely.
-
Click Connect.
-
Enter your Namely Subdomain (company.namely.com) and the Access Token you received from Namely.
-
Click Save Credentials.
Now that your accounts are successfully connected, start exporting candidates. Here's how:
-
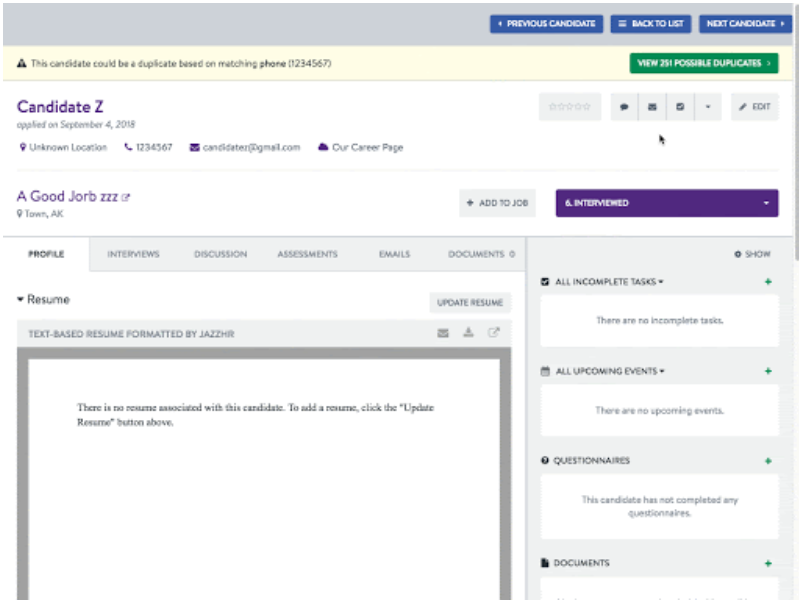
Click Candidates.
-
Click the name of the candidate you'd like to export.
-
Click the action drop-down near the edit profile button and click Export Candidate.
-
Select Namely Onboarding from the dropdown menu.
-
Select a Start Date from the dropdown menu.
-
Click Export.
The following information will be sent to Namely from JazzHR:
-
First Name
-
Last Name
-
Email
-
Phone Number
-
Workflow Status (Hired)
-
Resume
-
LinkedIn URL (when applicable)
-
Salary
-
Start Date
-
Job title
-
Home address
Refer to Jazz HR's Getting Started Guide for more information on how to learn the basics.
ONBOARDING YOUR CANDIDATES INTO NAMELY
Once you've set up the integration and exported candidate(s) from JazzHR, go to Namely to begin Onboarding your candidates. To set up an Onboarding template:
-
Click Onboarding.
-
Click Templates.
-
Click Create Template and select the required fields and documents for the template.
-
Once created and published, go into JazzHR and enable Onboarding by clicking the checkbox from your Namely integration sign-in screen.
Now, when you export a candidate to Namely, it will create a draft session for your candidate.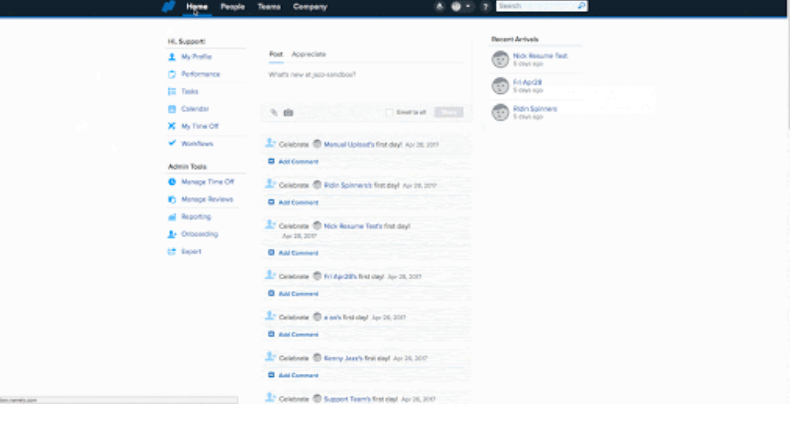
TIPS
Refer to JazzHR's Frequently Asked Questions to find responses to the most commonly asked questions from other JazzHR users.